Jenkins Installation Using Podman
by Anish
Posted on Friday January 31, 2020
Introduction
With the Red Hat Enterprise Linux (RHEL) 7.6 Beta released Podman was one of the first new features I have found. By offering a similar interface to the Docker command line.
podman - Client tool for managing containers. Can replace most features of the
dockercommand for working with individual containers and images
In this example, we are going to install Jenkins using podman
Prerequisite
Installation of Podman on RHEL7/Centos7
sudo subscription-manager repos --enable=rhel-7-server-extras-rpms
sudo yum -y install podman
Installation of Podman on RHEL8
sudo yum module enable -y container-tools:1.0
sudo yum module install -y container-tools:1.0
Jenkins Installation
-
Create the following volumes to persist the Jenkins data using the following
docker volume createcommands:podman volume create jenkins-data -
Download the
jenkinsci/blueoceanimage and run it as a container in podman using the followingpodman container runcommandpodman container run \ --name jenkins-blueocean \ --rm \ --detach \ --privileged \ --publish 8080:8080 \ --publish 50000:50000 \ --volume jenkins-data:/var/jenkins_home \ --volume jenkins-docker-certs:/certs/client:ro \ jenkinsci/blueocean -
Check the Jenkins process is up and running
[root@localhost ~]# podman ps CONTAINER ID IMAGE COMMAND CREATED STATUS PORTS NAMES 41be560345af docker.io/jenkinsci/blueocean:latest /sbin/tini -- /us... 4 seconds ago Up 4 seconds ago 0.0.0.0:8080->8080/tcp jenkins-blueocean -
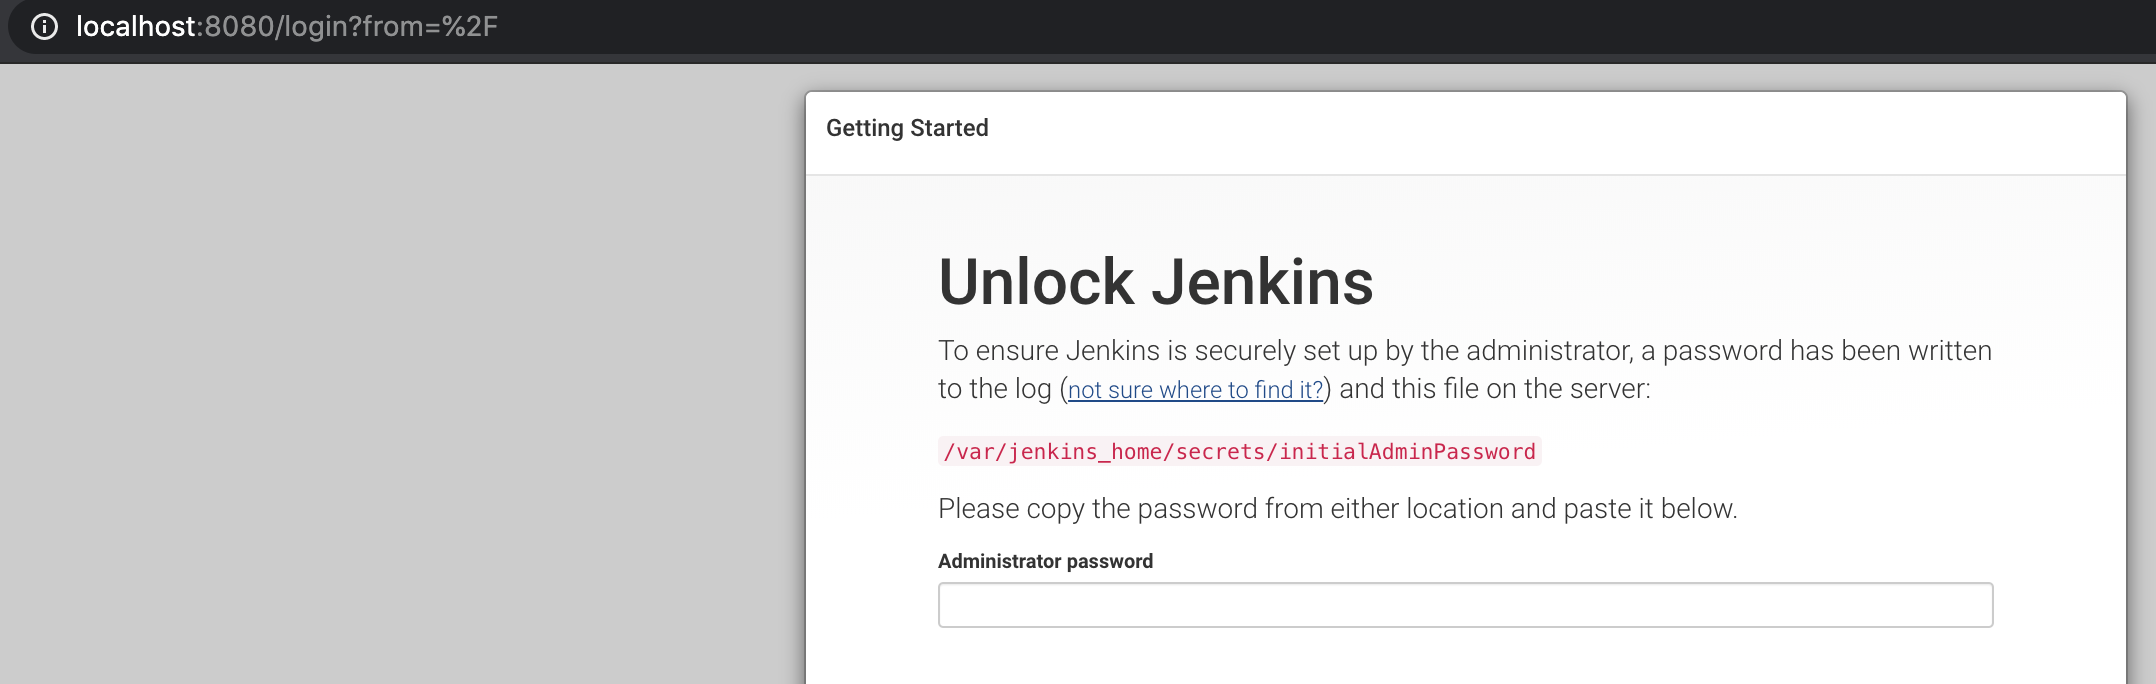
Copy the automatically-generated alphanumeric password from the Jenkins container location
/var/jenkins_home/secrets/initialAdminPassword[root@localhost ~]# podman exec -it 68d350997923 sh / # cat /var/jenkins_home/secrets/initialAdminPassword c5b091551702478eb88bf887a154a64bor
podman logs 68d350997923
Browse to http://localhost:8080 and wait until the Unlock Jenkins page appears.
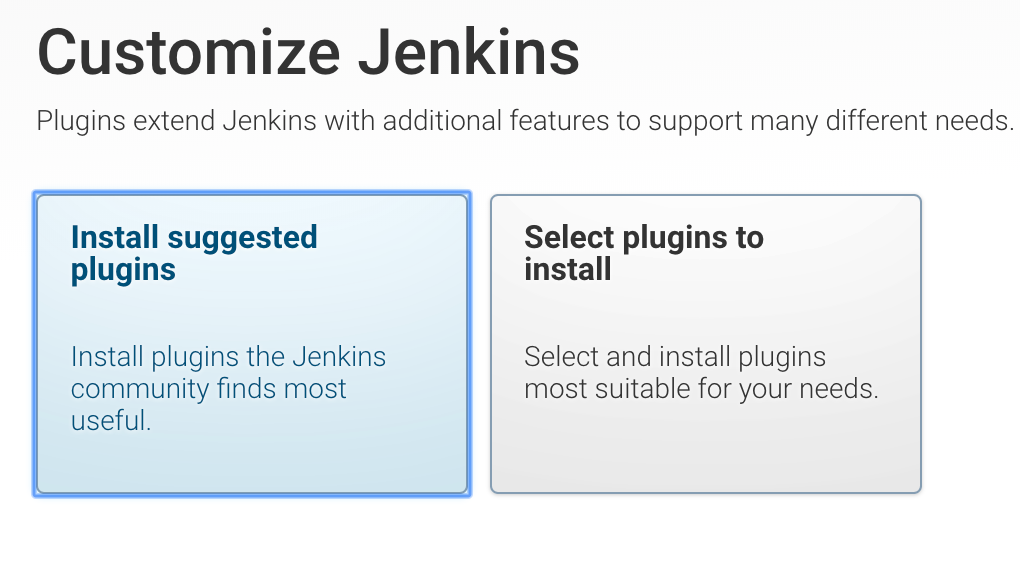
- Custimze Plugins
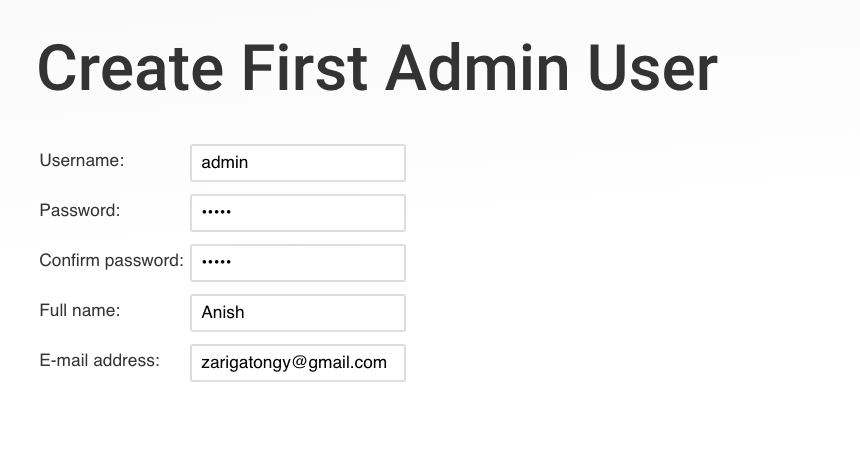
- Once all the Plugins are Installed
- Create the required admin user
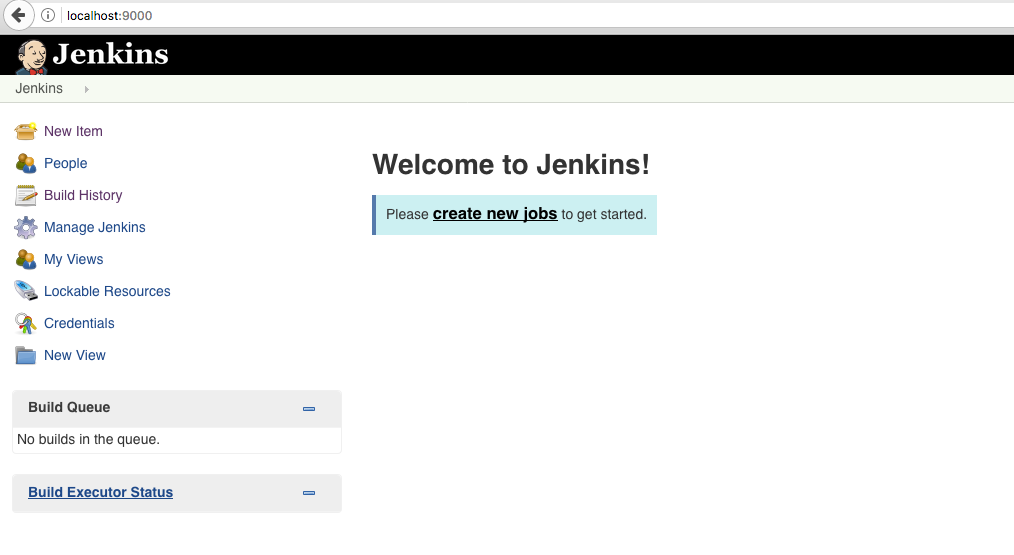
All right you have successfully created Jenkins start scheduling the jobs
Related Jenkins
Video Demo
Thanku for reading !!! Give a Share for Support
Your Support Matters!
Instead of directly asking for donations, I'm thrilled to offer you all nine of my books for just $9 on leanpub By grabbing this bundle you not only help cover my coffee, beer, and Amazon bills but also play a crucial role in advancing and refining this project. Your contribution is indispensable, and I'm genuinely grateful for your involvement in this journey!
Any private key value that you enter or we generate is not stored on this site, this tool is provided via an HTTPS URL to ensure that private keys cannot be stolen, for extra security run this software on your network, no cloud dependency
Kubernetes Related Topics
Linux Related Topics
Ansible Related Topics
Openstack Articles
Applied Cryptography Topics
Web Crypto API Topics
python Cryptography Topics
PHP Cryptography Topics
Topics
For Coffee/ Beer/ Amazon Bill and further development of the project Support by Purchasing, The Modern Cryptography CookBook for Just $9 Coupon Price
Kubernetes for DevOps
Hello Dockerfile