FreeNas installation in Openstack
by Anish
Posted on Saturday July 7 2018
FreeNAS is a Free and Open Source Network Attached Storage (NAS) software appliance. This means that you can use FreeNAS to share data over file-based sharing protocols, including CIFS for Windows users, NFS for Unix-like operating systems, and AFP for Mac OS X users. FreeNAS uses the ZFS file system to store, manage, and protect data. ZFS provides advanced features like snapshots to keep old versions of files, incremental remote backups to keep your data safe on another device without huge file transfers, and intelligent compression, which reduces the size of files so quickly and efficiently that it actually helps transfers happen faster.
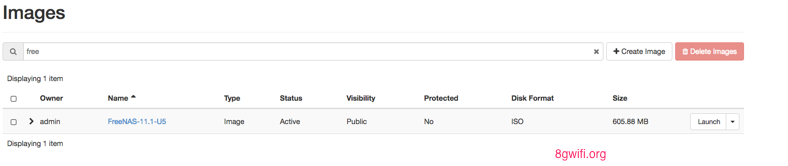
Step-1 Upload the latest ISO of free NAS in the openstack Image This can be found at the location
http://www.freenas.org/download-freenas-release/
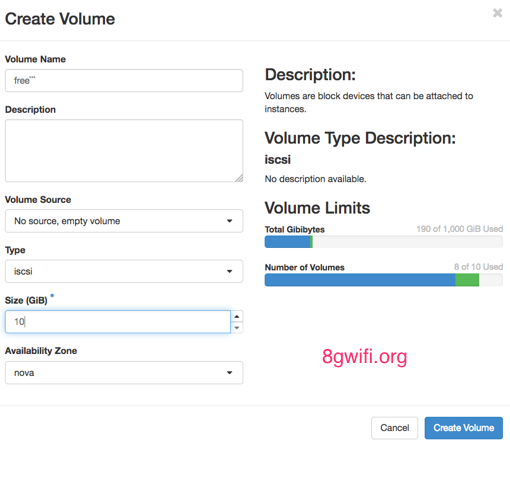
Step-2 In openstack create a non-bootable volume first
Step-3 Launch an openstack server instance using the FreeNas-ISO image

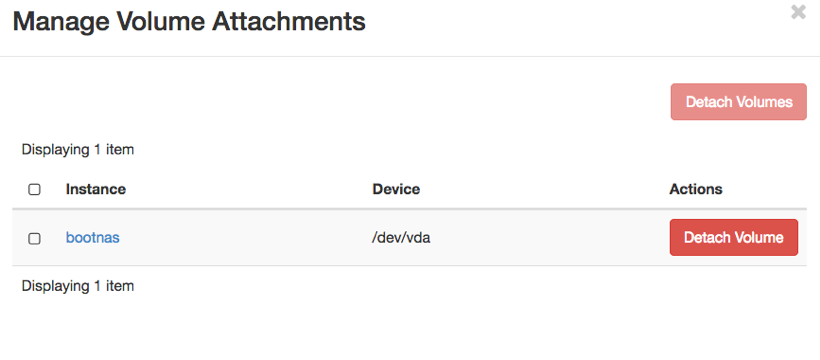
Step-4 No go the openstack volume and attach this volume to the currently launched openstack instance
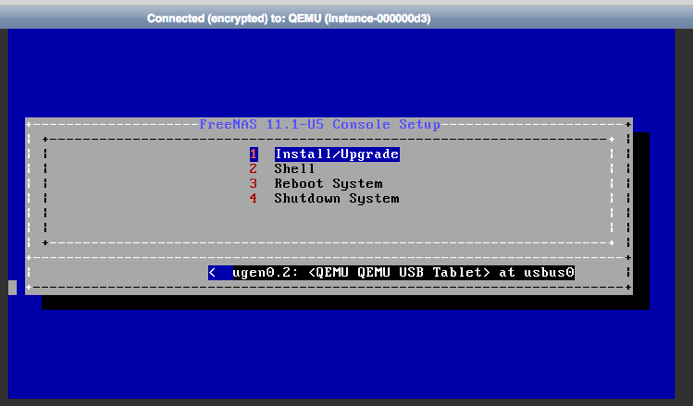
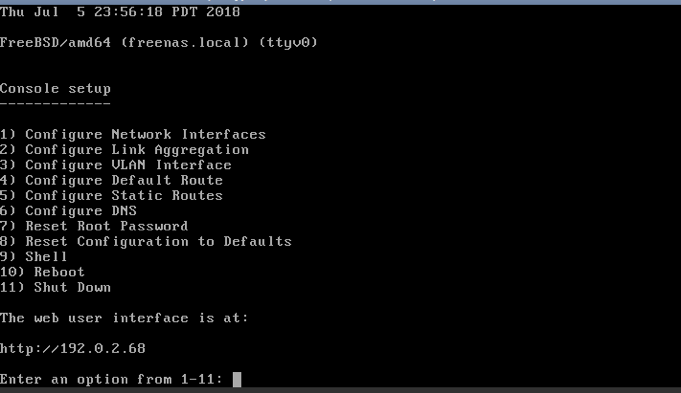
Step-5 Perform a hardreboot in the openstack server instance, when the instance is running, go to the console, you will be noticing the below screen
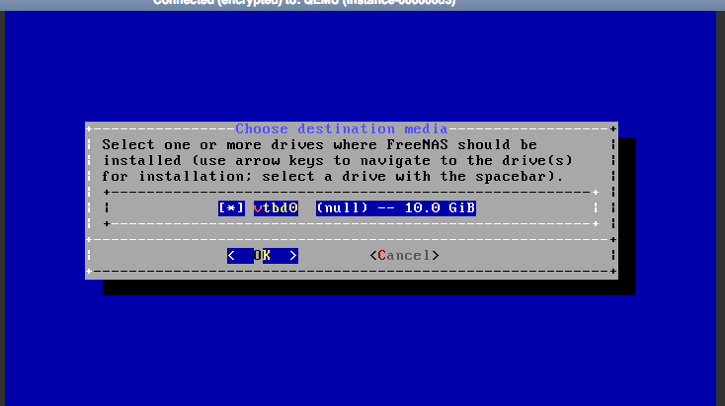
Step-6 The new openstack volume is detected by the freenas
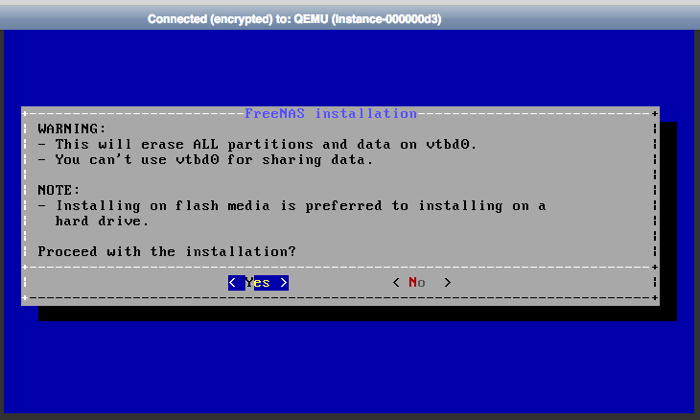
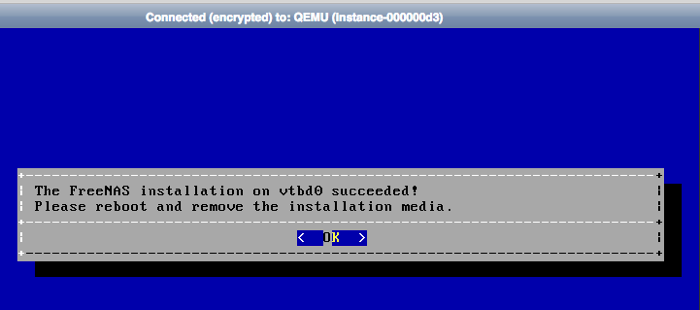
Step-7 Follow the freenas installation instruction
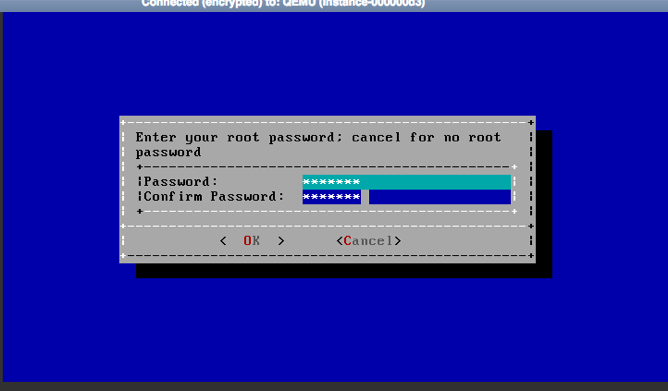
Step-8 Setup the freenas root password
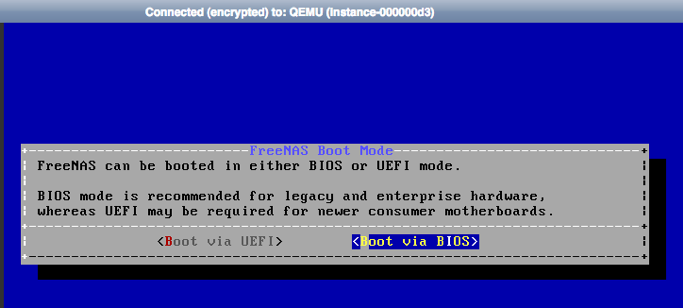
Step-9 Boot vis BIOS
Step-10 Rebbot the Server
Step-11 Delete the openstack Instance running freenas

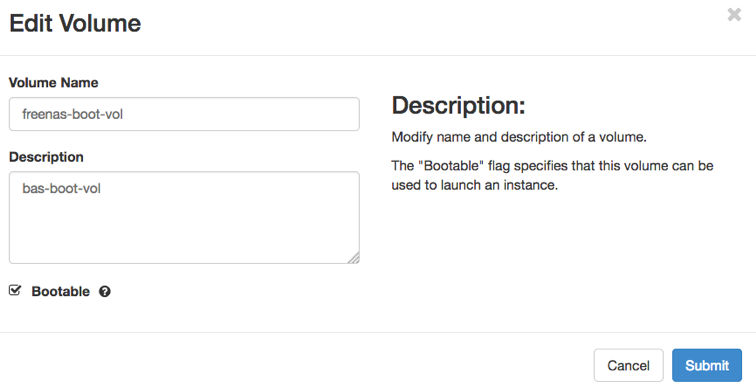
Step-12 Make the created volume bootable
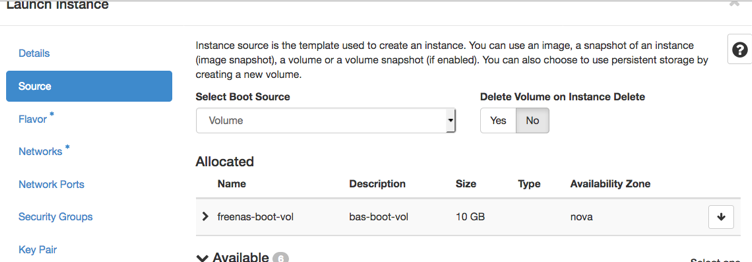
Step-13 Launch a new openstack instance with this bootable volume , freenas Minimum ram requirement is 8GB
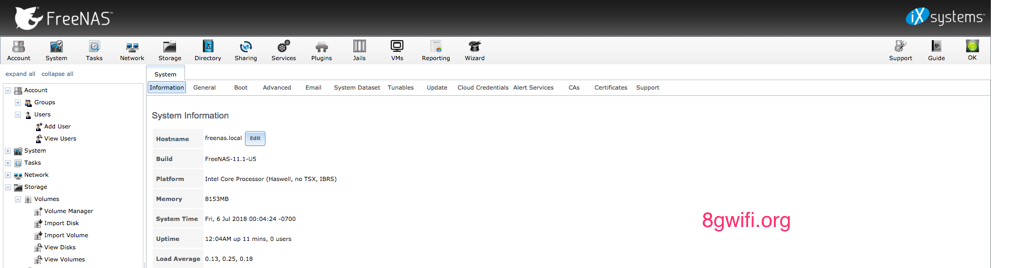
Step-14 Verify the VNC openstack console, freenas server should be up and running on the webserver
Step-15 Login to freenas webserver
Username: root

Password: setup during the freenas Installation
Thanku for reading !!! Give a Share for Support
Your Support Matters!
Instead of directly asking for donations, I'm thrilled to offer you all nine of my books for just $9 on leanpub By grabbing this bundle you not only help cover my coffee, beer, and Amazon bills but also play a crucial role in advancing and refining this project. Your contribution is indispensable, and I'm genuinely grateful for your involvement in this journey!
Any private key value that you enter or we generate is not stored on this site, this tool is provided via an HTTPS URL to ensure that private keys cannot be stolen, for extra security run this software on your network, no cloud dependency
Openstack Articles
Kubernetes Related Topics
Linux Related Topics
Ansible Related Topics
Applied Cryptography Topics
Web Crypto API Topics
python Cryptography Topics
PHP Cryptography Topics
Topics
For Coffee/ Beer/ Amazon Bill and further development of the project Support by Purchasing, The Modern Cryptography CookBook for Just $9 Coupon Price
Kubernetes for DevOps
Hello Dockerfile